Introduction
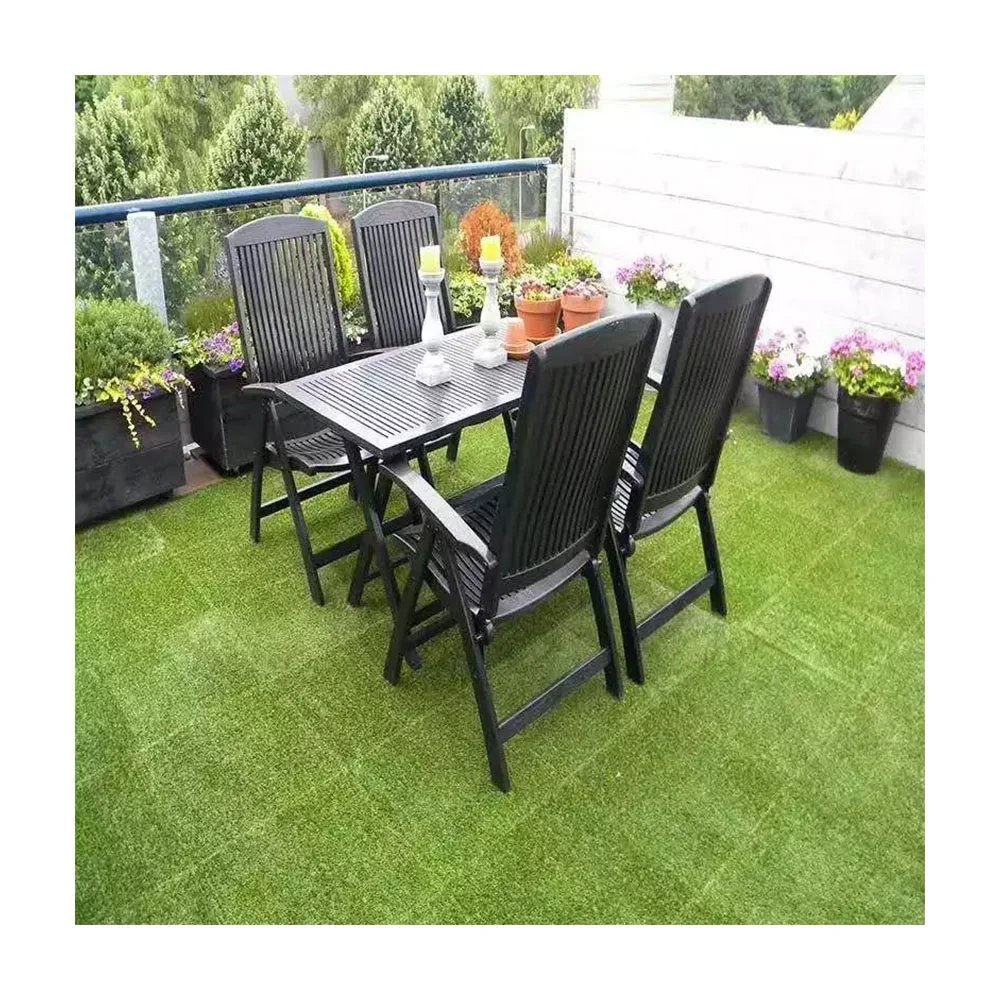
Tired of the hassle and expense of traditional grass lawns? Artificial grass offers a low-maintenance, vibrant alternative that’s perfect for busy lifestyles and families. But before you dive into the world of synthetic turf, understanding the process of laying it yourself is crucial. This detailed guide will walk you through every step, from preparing your base to achieving a professional-looking finish.
Preparing Your Base: The Foundation of Success
Laying artificial grass on soil requires careful preparation to ensure a stable and long-lasting installation.
Removing Existing Turf:
- The First Step: Begin by removing any existing grass, weeds, and debris from the area. A sharp knife or spade will be your best friend here. Aim for a depth of around 100mm to ensure a smooth transition for the artificial grass.
- The Importance of Depth: Removing the top layer of soil allows for proper drainage and prevents the artificial grass from becoming waterlogged.
Leveling and Cleaning:
- Creating a Smooth Surface: Once the old turf is removed, ensure the ground is smooth, level, and free of debris. This will create a solid foundation for your artificial grass.
- Leveling Tools: Use a rake, shovel, or a level to ensure a flat surface.
Adding a Weed Membrane:
- Preventing Unwanted Guests: A weed membrane is a crucial step in preventing weed growth and ensuring the longevity of your artificial grass. It acts as a barrier, preventing weeds from penetrating the base.
- Choosing the Right Membrane: Opt for a heavy-duty weed membrane designed for outdoor use.
Compacting the Sub-Base:
- Creating a Stable Foundation: Spread a layer of sand over the weed membrane, compacting it thoroughly with a compactor plate or roller. This creates a stable and even base for your artificial grass.
- The Importance of Compaction: Proper compaction ensures the artificial grass sits evenly and doesn’t shift over time.
Laying the Artificial Grass: From Rollout to Finishing Touches
Unrolling and Settling:
- Unveiling the Turf: Unroll your artificial grass onto the prepared base, allowing for a 50mm overhang on each side. This will provide a buffer for trimming and ensure a seamless finish.
- The Importance of Settling Time: Allow the artificial grass to settle for 2-3 hours or overnight for optimal shape and crease removal. Once settled, trim the grass to your desired shape using a sharp knife.
Trimming and Joining
- Achieving a Professional Finish: Trim the artificial grass to your desired shape using a sharp knife.
- Joining for Larger Areas: If you’re working with a large area, you may need to join multiple pieces of artificial grass. Use joining tape and adhesive designed for outdoor use to create a seamless transition.
Fixing the Turf:
- Securing the Turf: Depending on your base, you can use carpet tacks, pins, or screws to secure the artificial grass. For concrete or stone bases, use outdoor adhesive to bond the turf down.
- The Importance of Secure Attachment: Properly securing the turf prevents it from shifting or becoming loose over time.
Infilling and Finishing:
- Creating a Lush Look: Once the artificial grass is firmly in place, brush the infill into the turf using a stiff brush. This will help to stand up the fibers and create a lush, natural look.
- The Importance of Infilling: Infilling helps to fill in the gaps between the fibers, creating a more realistic and durable lawn.
Conclusion
Laying artificial grass is a rewarding DIY project that can transform your outdoor space. By following these steps and taking your time with each stage, you can achieve a beautiful, low-maintenance lawn that will enhance your home and garden for years to come. Remember, a well-prepared base and careful installation are key to a successful and long-lasting artificial grass installation.

